Instructions for signing documents with qualified electronic signature in Okular
Направо към навигацията
Направо към търсенето
Before proceeding you must do
- IMPORTANT: More information about Okular
- IMPORTANT: Make sure you have installed the necessary drivers for your smart card and reader from HERE
- IMPORTANT: The following instruction is tested on Ubuntu 22.04 and Okular 21.12.3
Installation of Okular
Install the program thru Terminal with command:
sudo apt-get install okular
Adding your smart card library in NSS
Configure your NSS repository:
- Install the NSS tools. In Debian based distribution the necessary package is libnss3-tools:
sudo apt-get install libnss3-tools
- Create a directory for the database of NSS with the following command:
mkdir -p $HOME/.pki/nssdb
- Add the library of your smart card using this command:
For IDPrime:
modutil -add "IDPrime" -libfile libIDPrimePKCS11.so -dbdir sql:$HOME/.pki/nssdb -mechanisms FRIENDLY
For Bit4ID:
modutil -add "Bit4id" -libfile libbit4ipki.so -dbdir sql:$HOME/.pki/nssdb -mechanisms FRIENDLY
For OpenSC:
modutil -add "OpenSC" -libfile onepin-opensc-pkcs11.so -dbdir sql:$HOME/.pki/nssdb -mechanisms FRIENDLY
Signing PDF documents in Okular
1. Choose the PDF file with File > Open
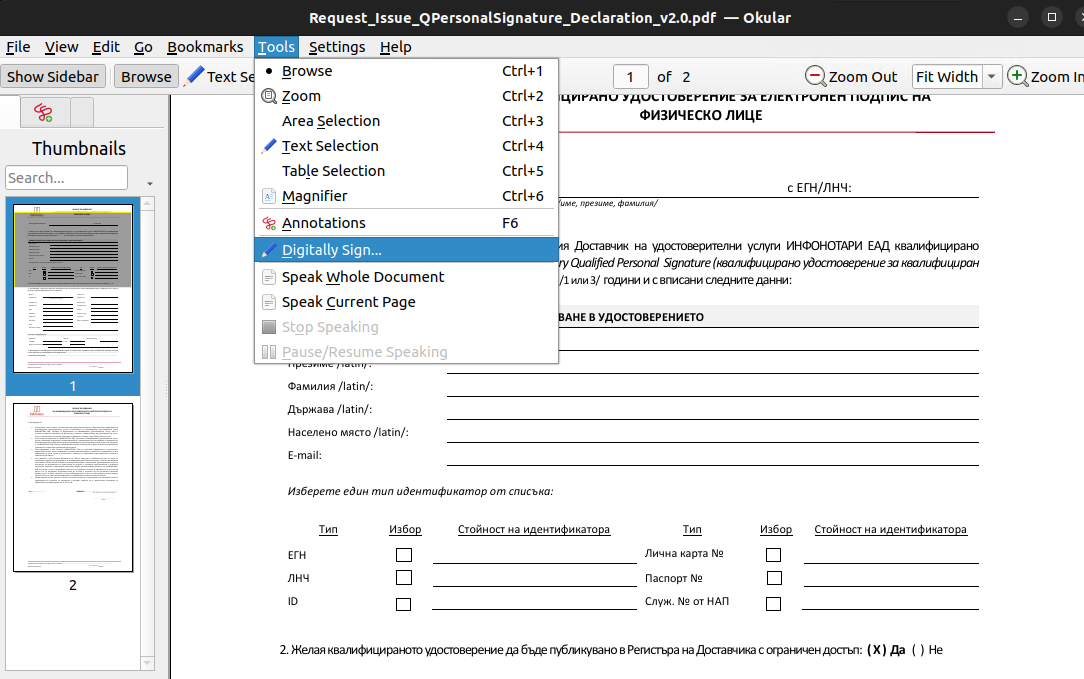
2. From Tools choose Digitally Sign
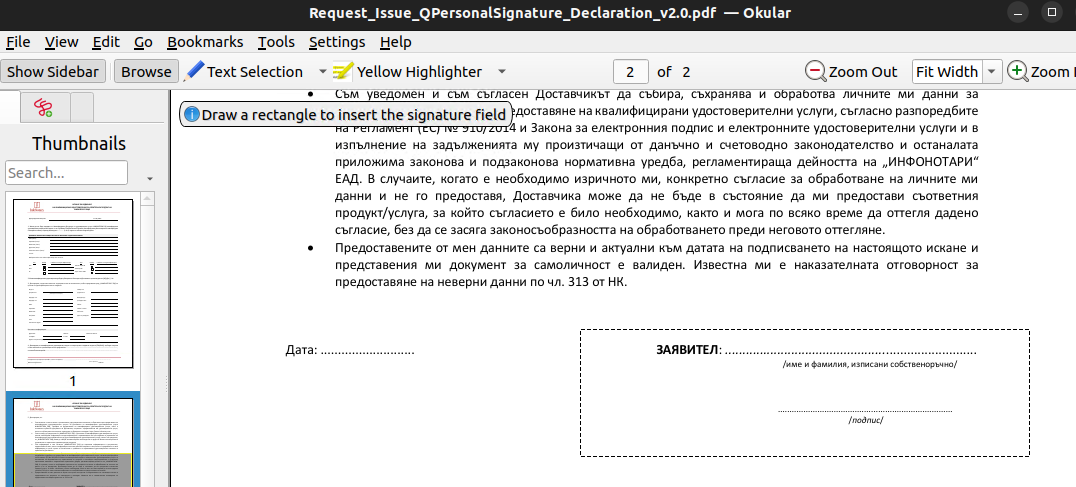
3. Using your mouse, click drag and draw the area where you would like the signature to appear.
4. Choose your signature and dial your PIN code.

